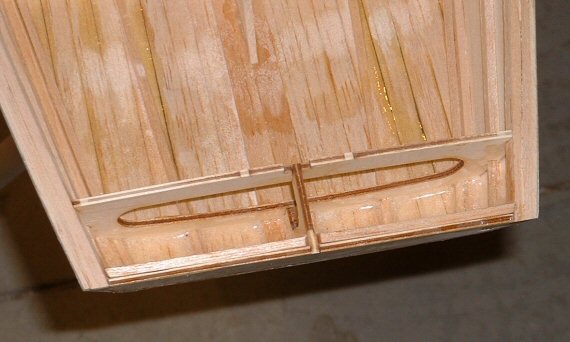
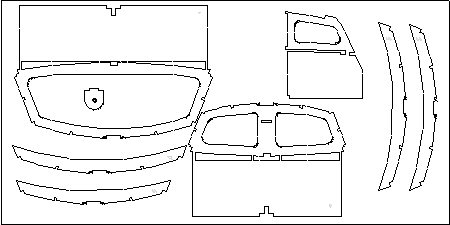
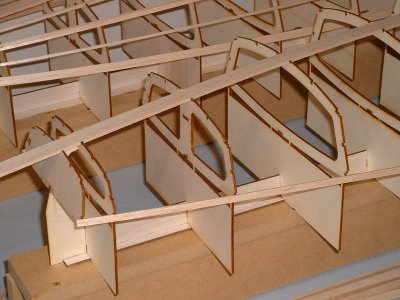
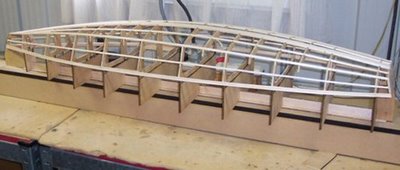
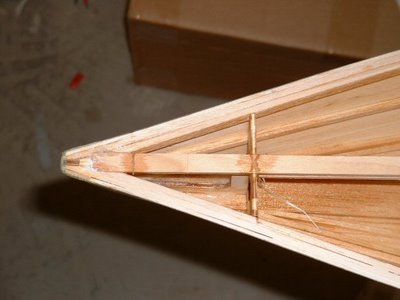
Hulls may be planked using any number of types of wood, including thin aircraft plywood, cedar, balsa, etc.
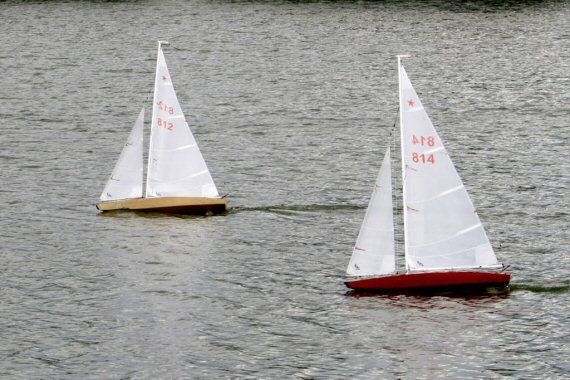
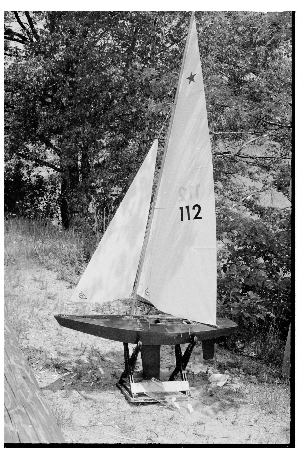
The Star 45 is a terrific boat for sport sailing and family fun. If you want to race other Star 45's you should build to the AMYA Class rules.
Here are key 2006 AMYA Star 45 Class Rules,section 1.0 Hull:
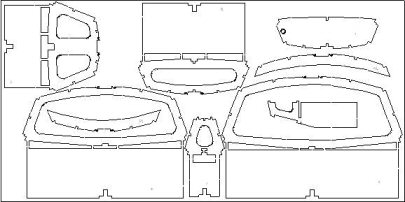
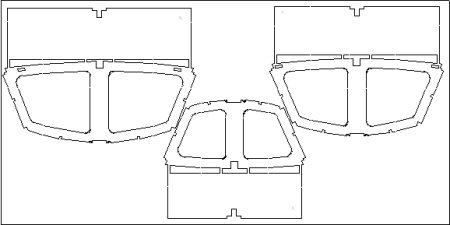
1.1 The Star 45 Class establishes as their approved plans a set of lines and drawings as the approved reference and construction plans for the class. These plans are scaled and appropriately modified for the use of modelers building a 45-inch model of the Star Boat. Existing plans supplied by kit manufacturers, etc. are grandfathered. New molds, plugs and scratch built models shall conform to the approved plans and specifications.
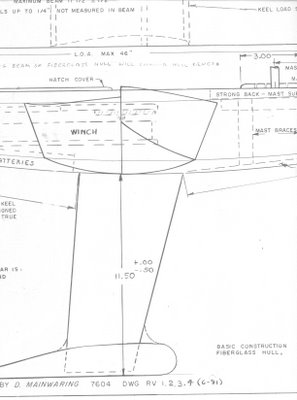
1.2 Hull length will be 45 inches (plus or minus one half (1/2) inch overall. (NOTE: this does not include any chain plate for backstay attachment, or 1/4 inch bow bumper if used. However, if the chain plate is attached to the transom or overhangs the transom, it may not extend beyond the transom more than 3/8 of a inch.) Hulls may not be less than 11 inches nor exceed 12 inches in beam when measured at the widest point on the deck. (Rubrails are not included in measuring but will not exceed 1/4 inch of thickness/width.)
1.3 In the event of a builder choosing to scratch or hand build a Star 45 Yacht, the builder must adhere to the class approved reference and construction drawings, as obtained from the AMYA Ships Store, as in the builders ability. A second consideration in scratch building is to ensure that safe and sound building practice be maintained.
1.4 All hulls will be constructed of wood or fiberglass or a combination of wood and fiberglass and be a minimum of 16 ounces when weighed before attachment of the deck and keel. This weight must be verified by another member of the Star 45 Class using the Class Measurement Form.
1.5 Decks shall be constructed of wood, fiberglass or plastic laminate material.
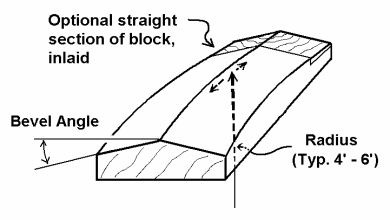
1.6 All hulls shall be the standard hard-chine hull. Hulls may be built with a sheer at scale height or with a sheer no more than one inch higher than scale (when measured at the point of maximum depth of sheer.)
1.7 All fiberglass and wood hulls will have a name plate permanently attached to the inside of the hull so as to be seen when the hatch cover is removed.
1.8 At or before its first Sanctioned Regatta the newly built model yacht must be measured using, as reference, the approved measurement form and signed by not less than the owner of the model yacht and one other member of the class. This measurement form shall become, with the registration card, a permanent record of this model yacht.
1.9 The AMYA Star 45 Class recognizes and approves the molds and manufacturer and/or kit packagers of Star 45 molded hulls and kits in existence at the time of approval of these specifications. These sources will be approved sources for the class. New manufacturers will be directed to submit the first of their product to the Class Secretary for approval.
1.10 No maximum weight is specified, however, no yacht will weigh less than 12 pounds when fully rigged ready to sail. This means with all gear, rigging, sails, radio components, batteries and ballast placed and secured on board.
1.11 Bow Bumpers are mandatory for all class registered STAR 45 yachts. Bow bumpers are limited to three eight's of an inch (3/8") overhang. Bow bumpers shall be excluded in the overall length measurement, whether recessed in or otherwise attached to the bow stem. Bow bumpers must be of resilient fabrication to minimize damage to another yacht in the event of a collision.


.jpg)
.jpg)
.jpg)
.jpg)


